

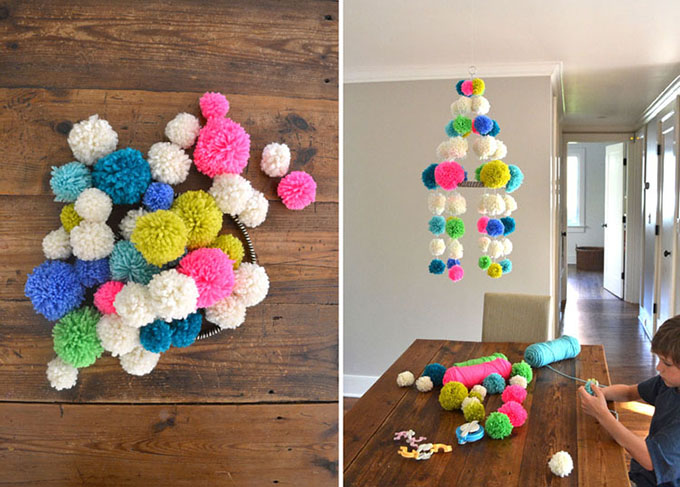
In Poland, peasants used to make these Pujakis during the winter months in preparation for their biggest holiday, Christmas! Although traditionally made from paper and straw, mine was made from pom-poms because I am obsessed with these fluffy little guys.
Read on to find out the materials I used, and how I made this pom-pom chandelier.
Supplies needed for Pom-pom Pujaki
~ Embroidery hoop (mine was 8″ diameter)
~ Ribbon to wrap around the hoop, I used black striped grosgrain (or leave it plain)
~ Yarn (I used 6 colors but you can do anything you want) – this is the neon pink yarn I used
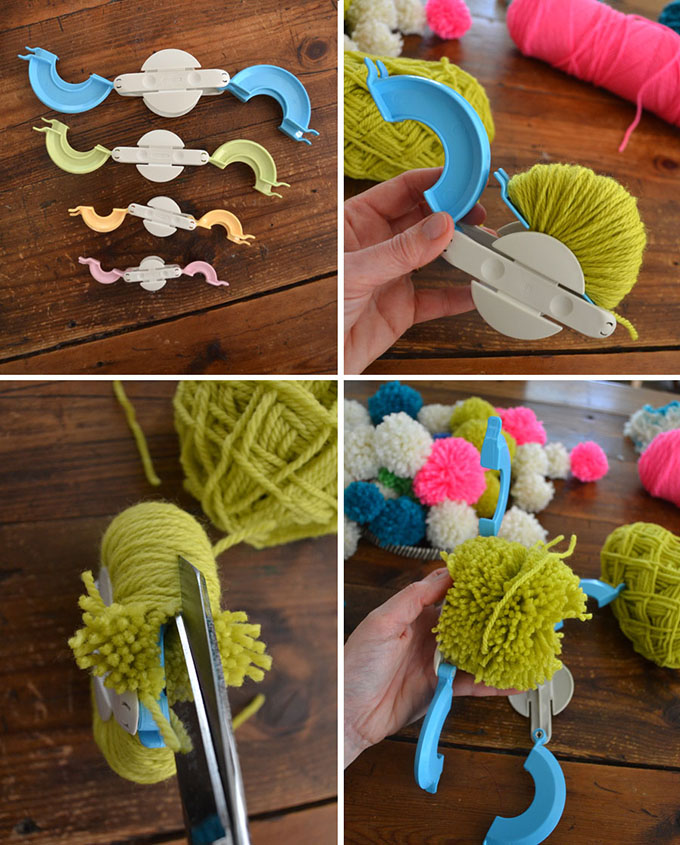
~ Pom-pom makers (optional, you can make pom-poms any way you usually do)
~ Good scissors
~ Embroidery floss or thick yarn that can fit through the needle (I used a metallic string that was hard to work with, I would not recommend it)
How to make a Pom-pom Pujaki
This project is somewhat of a challenge. I call it a labor of love. It just takes a little time, and then a little engineering. Not at all difficult, you just need time and patience.
1. Make lots of pom-poms. I made 54 for this chandelier in various sizes. I chose 6 different colors and white (or more like cream) to act as a rest for the eye. I used pom-pom makers which make things really easy, but you can use whichever method you prefer. The pom-pom maker kit comes with instructions, but you get the idea from the photos.
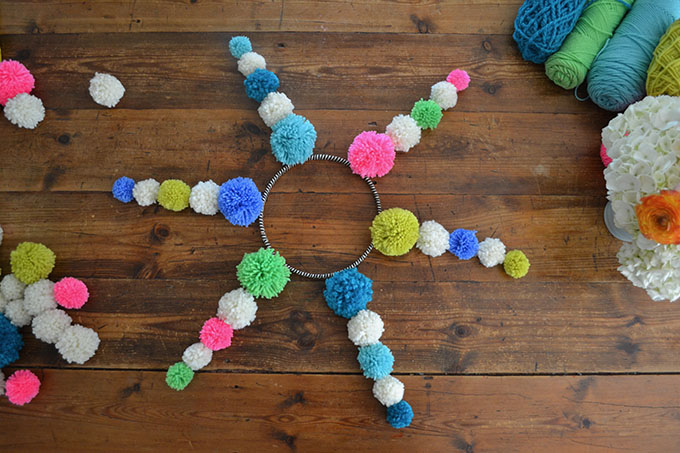
2. Next, lay out your pom-poms in the order that you like. I used three different sizes. I also measured and marked the hoop lightly with a pen so I would know exactly where to attach them.
3. So far, pretty easy. But now comes the tricky part. Starting with the biggest pom-pom, push your needle carefully through each one. When you get to the smallest, loop the needle through the book ring, and then back down all of the pom-poms. Leave a long tail at the end, about a foot. You will use this to attach to the hoop. Make sure that each of the six strands is exactly the same length. You can compare each with the next as you go.
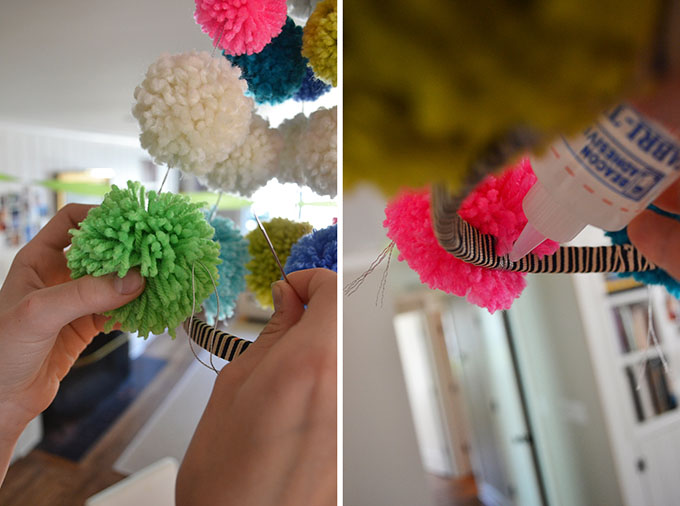
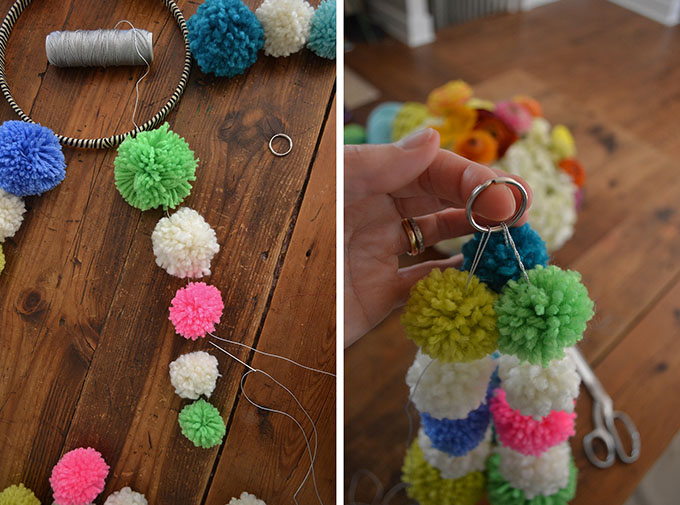
4. When all six strands are looped through the ring, hang the ring up on the ceiling. Now it’s time to attach the strands to the hoop. Re-thread the needle (now you will have two strings to thread). Wrap the string around the hoop and then secure it by going back through the pom-pom. After you feel that it’s tight enough, trim the string. Next, attach the strand opposite from the first one you just did. The hoop should now be secure. Go ahead and attach all of them. I used a little bit of fabric glue on the inside just to double secure the string.
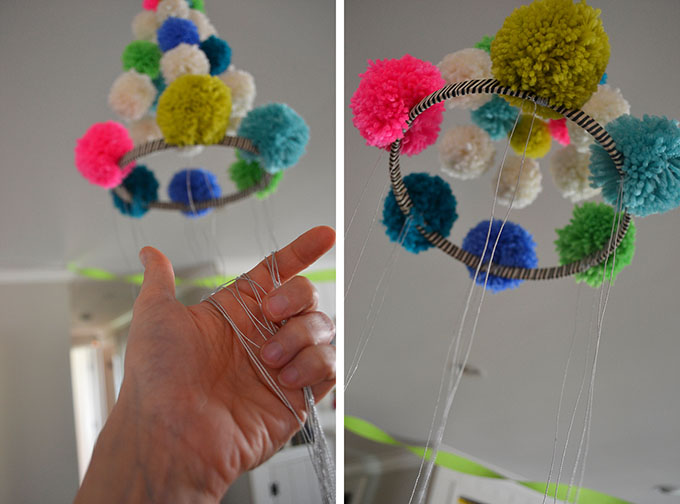
5. Now cut six pieces of string that are about four feet long. Take the middle of each piece and loop it around the hoop at the place where the 6 pom-poms meet the hoop. Make a couple knots. Now there should be six double strings hanging down.
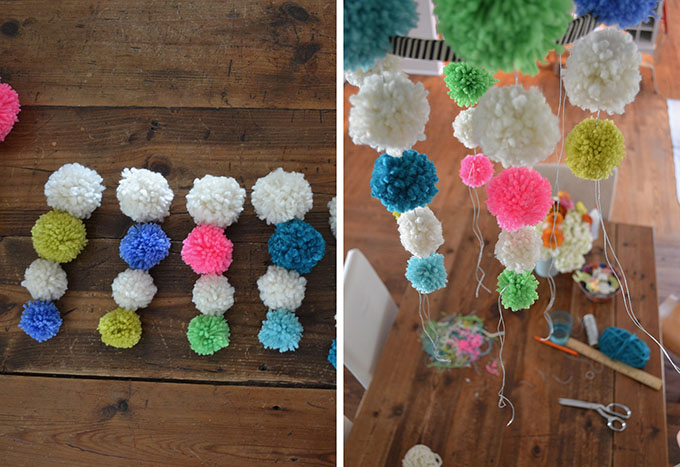
6. One by one, thread the two ends into the needle. Again, push the needle carefully through the four dangling pom-poms. When you’ve reached the last one, secure the thread by going back through the bottom pom-pom. Trim the string.
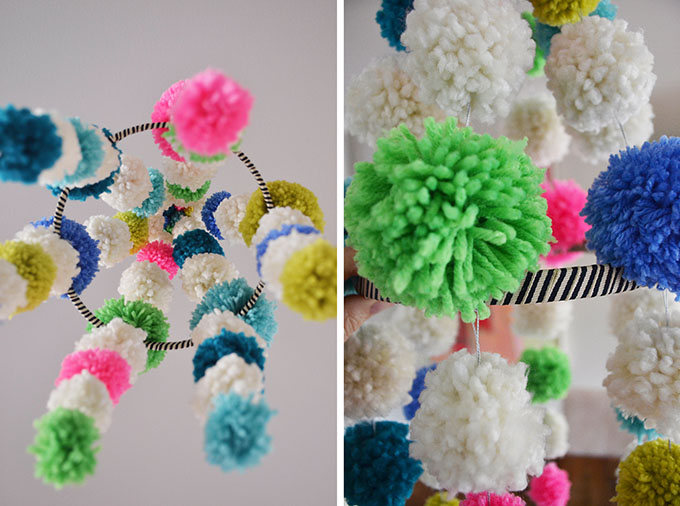
Now you are done! There are probably many different ways to get this done, so if you find a better way, by all means do whatever you think works best. This is just the way I did it.
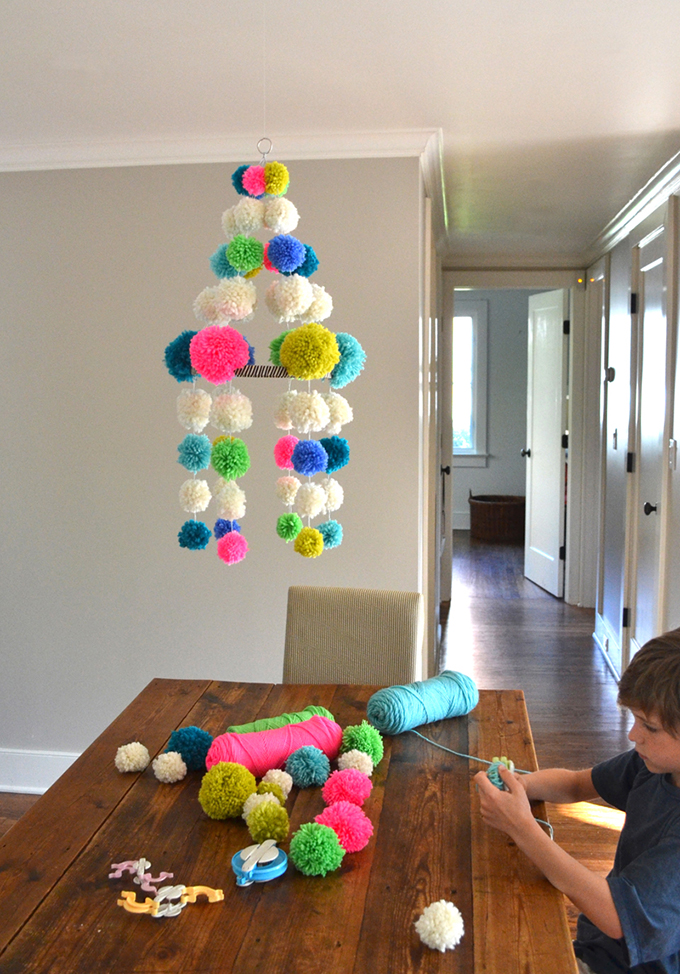
I love our boho-chic Pujaki!
xo Bar
– – – – – – – – – – – – – – – – – – – –
Did you like this post? Here are some more ideas with pom-poms:
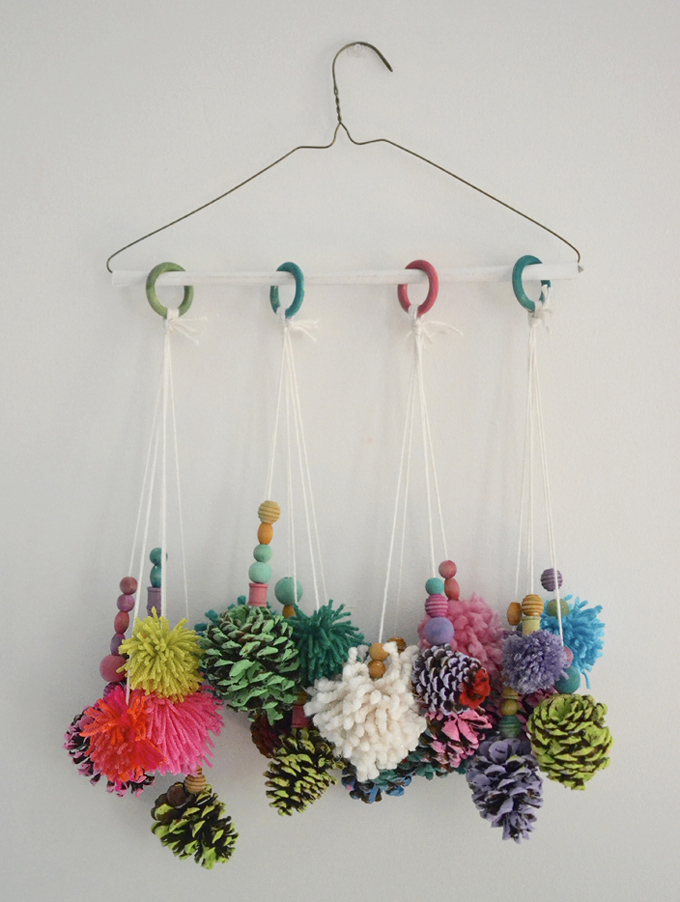
Pinecone Pom-pom Mobile
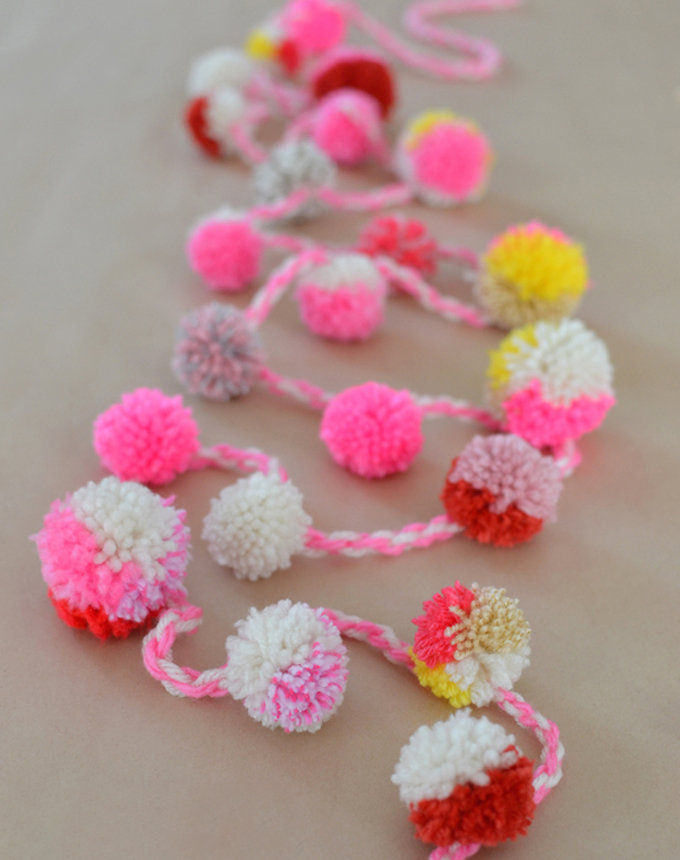
Pom-pom Garland
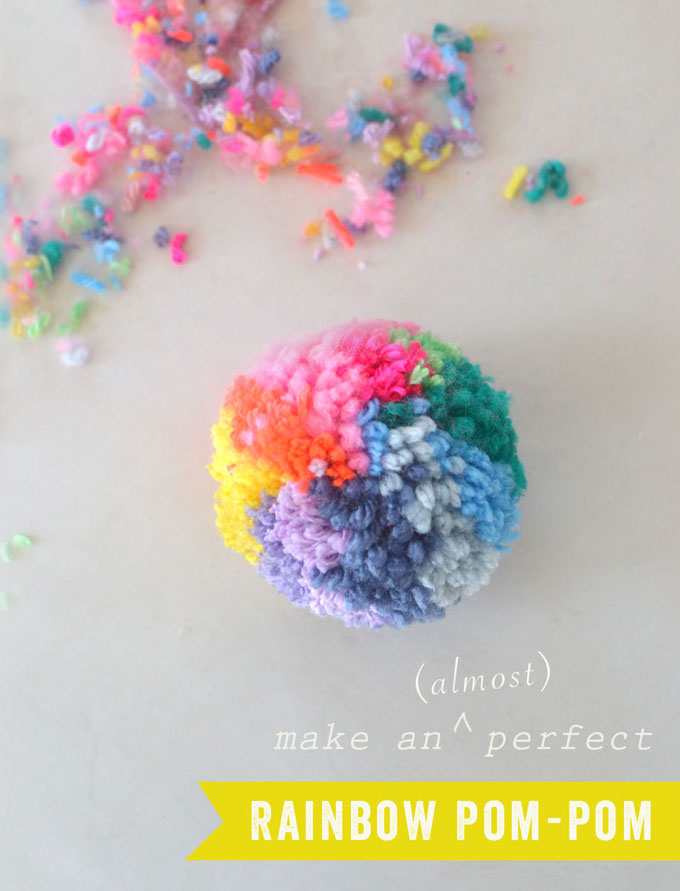
Make a Rainbow Pom-pom


